
The layout of 123D Design covers three parts basically: The workspace, the viewing options and the toolbar.

The grid represents the workspace in which your design can be created. You can also create a sketch or upload an existing illustrator file, and manipulate it.

The viewing options can be found on the right hand side of the window. They allow you to rotate through your design and view it from different angles.

You can find the toolbar at the top of the window. It shows different features/tools that help you in creating 3D designs.

This cube is found on the top right hand of the window. Clicking on each side allows you to view different perspectives of your design.
Tips:
- Right clicking using the mouse will allow you to orbit the design, if you click over the workspace.
- Clicking the toggle button on you mouse will also allow you to navigate over the workspace.
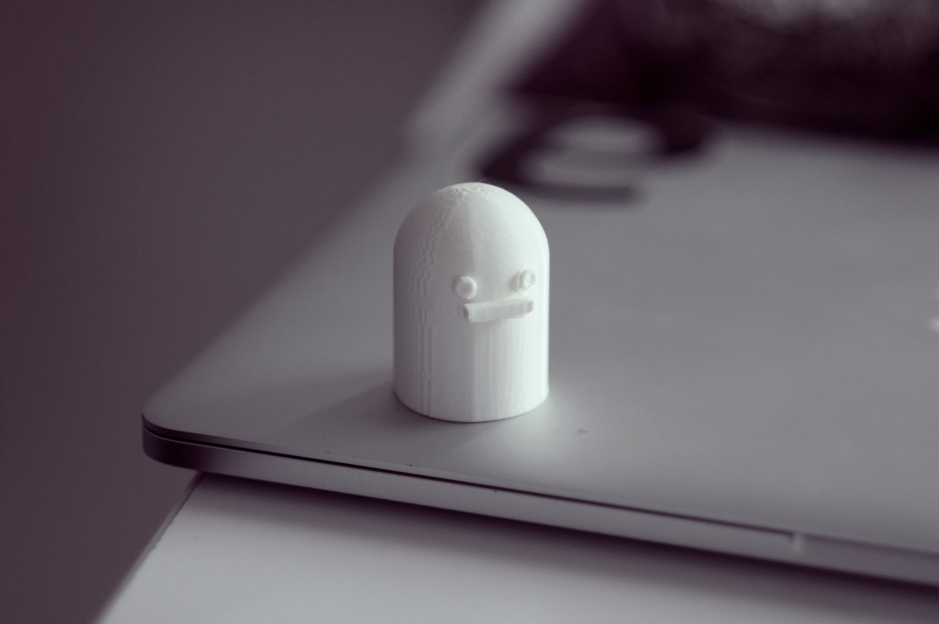
We were introduced to several features of the program such as ‘extrude’, ‘fillet’,
The challenge is to think three dimensionally about your design, rather than just looking at it as a flat design.


Reflection
- Challenges you faced when you transformed from 2D to 3D design. Inspiring? Limiting?
- Difference between working w/ a 2D vs 3D platform.
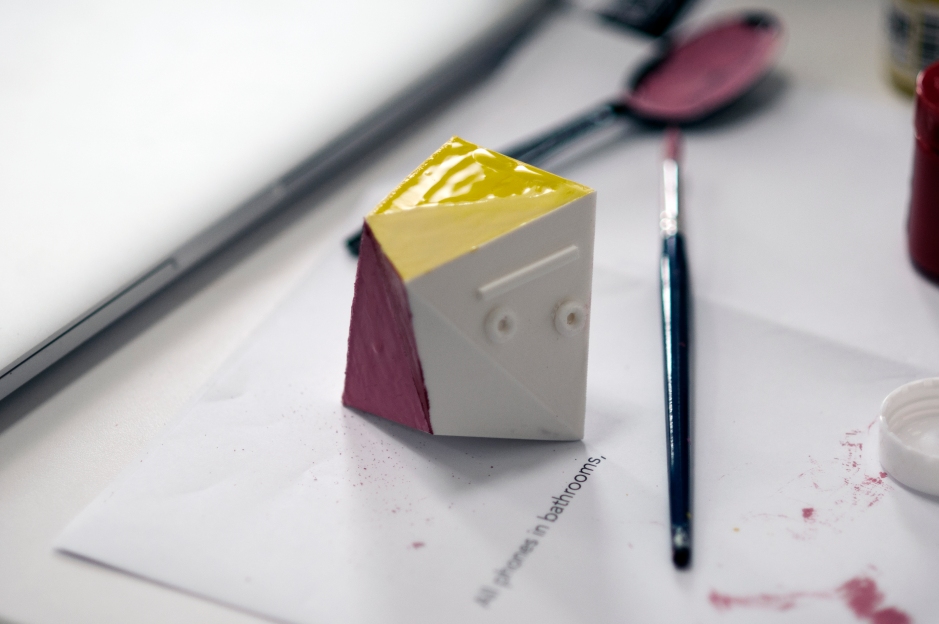
- Concept + story. How did you develop concepts and stories? How did the process inspire a concept?
- What is your internal logic?
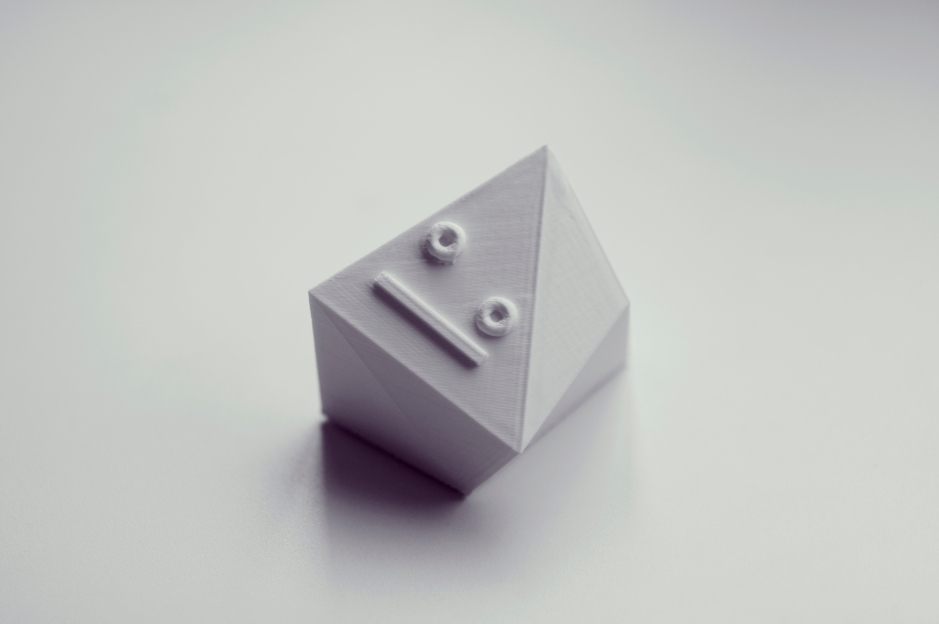
I felt like using the illustrator file was actually challenging for me. I decided to get rid of it, and work on 123D Design using the shapes that are available, and focus on manipulating them.
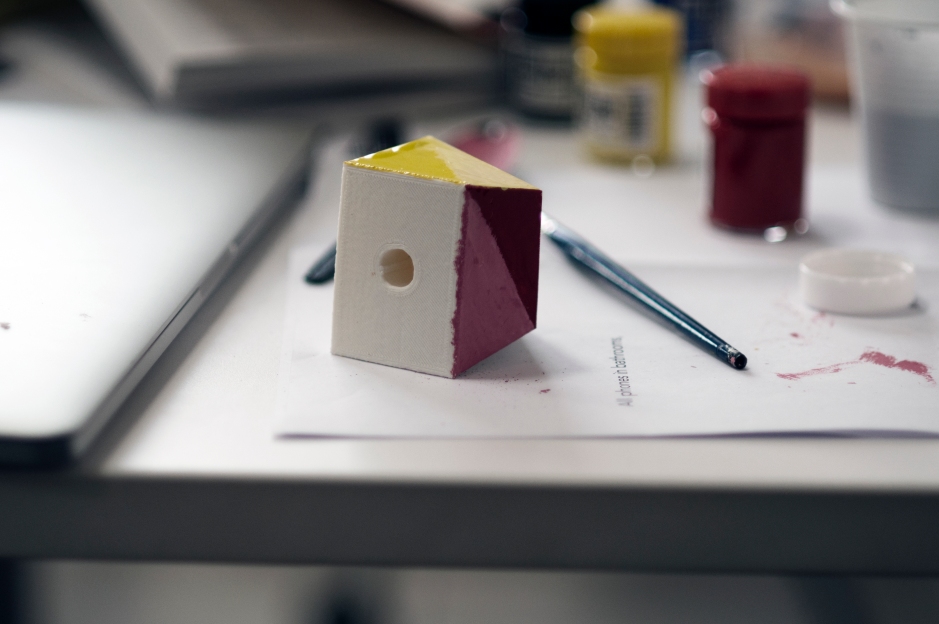
Zooming in and out as well as orbiting around the design to look at all the sides and angles, has helped in allowing me to adjust some angles that were sticking out. Had i not done that, the craft of the design would have been affected.
